So, you’ve got this piece of wood that’s as straight as a politician’s promise, and you need to give it a little attitude with a taper. How do you go about it? Well, picture this: you, a table saw, and a plan to make that wood look so sleek, that it’ll turn heads. But before we get into the nitty-gritty, let’s talk about how to set up and execute the perfect taper cut.
Trust me, it’s not as daunting as it sounds, and the end result will make you the envy of all your woodworking buddies.
Alright, my friend, you’ve got a piece of wood that’s just begging for a stylish taper, and you’re ready to make it happen. Here’s how you can take charge of this task and turn that ordinary piece of wood into something extraordinary. Let’s dive in and make some sawdust fly!
Here’s how to set up and execute the perfect taper cut on a table saw:
- Prepare Your Workspace:
- Clear your work area and ensure that it’s well-lit.
- Double-check that your table saw is in good working condition, with the blade properly aligned and the safety features in place.
- Put on your safety goggles and ear protection. Safety first, always!
- Mark Your Taper:
- Use a pencil and a straight edge to mark the taper lines on the wood. Visualize the angle you want to achieve and mark it clearly on both sides of the wood.
- Set the Table Saw:
- Adjust the table saw fence to the desired distance from the blade, corresponding to the widest end of the taper.
- Set the blade to the desired cutting angle. Most table saws have a bevel adjustment for this purpose.

- Practice Safe Cutting:
- Hold the wood firmly against the fence and the table while making the cut.
- Push the wood through the blade with a smooth and steady motion. Keep your hands away from the blade, and use a push stick if necessary.
- Test and Refine:
- Once you’ve made the initial cut, assess the taper and adjust the angle or depth for the perfect result.
- Practice on scrap wood to gain confidence before working on your final piece.
Remember, precision and patience are key when creating a taper cut. Take your time, stay focused, and enjoy the satisfaction of transforming that piece of wood into a work of art. You’ve got this! �️
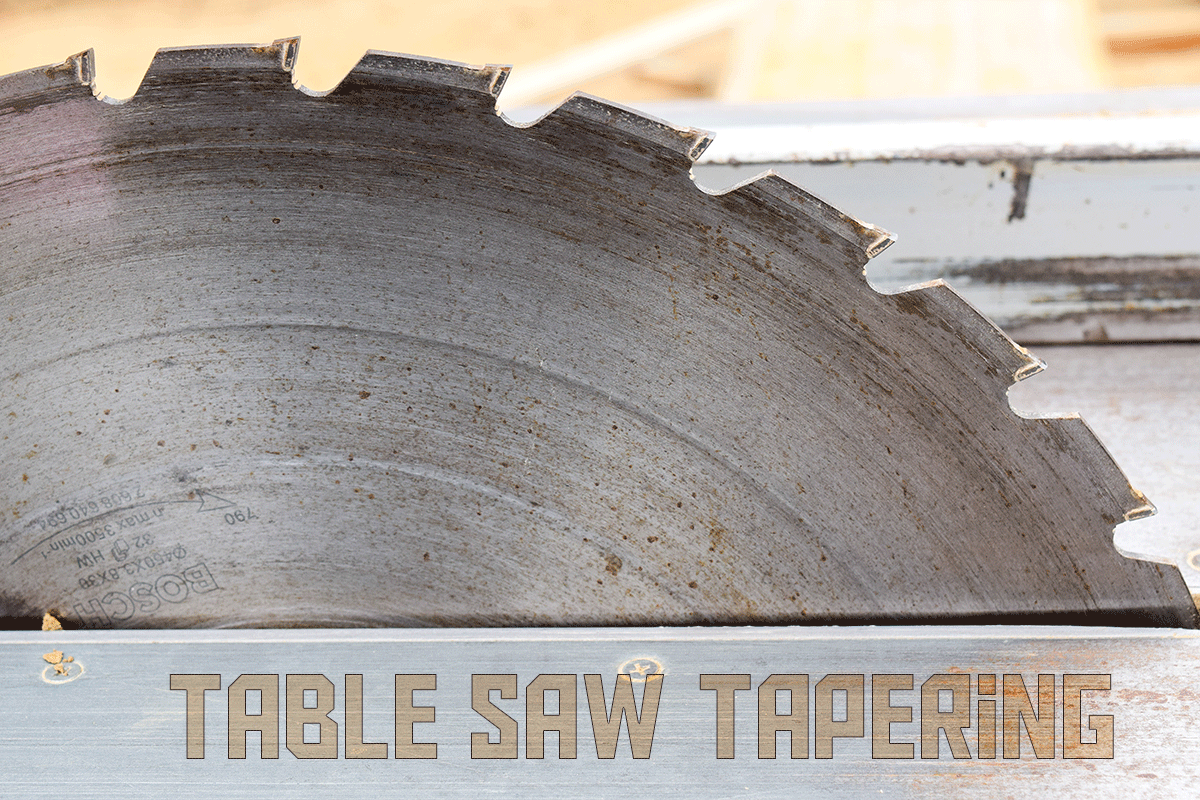
Table Saw Tapering Technique
If you’ve ever wanted to give your woodworking projects a sleek, tapered look, the table saw tapering technique is a game-changer.
Picture this: you’ve got your trusty table saw, a sturdy rip fence, and a piece of wood begging for a stylish makeover.
First things first, mark the desired taper measurements on your workpiece. Then, grab a scrap piece and tape it securely at the designated measurement on the wide end of your workpiece. This little buddy will act as your guide and protector, ensuring your taper stays on track.
Now, position your workpiece against a straight board and adjust that rip fence according to the taper of your dreams. It’s like setting the stage for the grand performance of your wood’s transformation.
Once everything’s in place, feed both pieces through the table saw simultaneously, maintaining a steady speed like a boss. And voilà – watch that narrow end take on a whole new attitude as the table saw works its magic.
Just remember safety first, and aim for an even, smooth taper.
Your woodworking creations are about to get a serious upgrade!
Table Saw and Tapering Jigs
Consider using a tapering jig with your table saw to ensure precise and consistent tapers in your woodworking projects. A tapering jig is a simple yet effective tool that can be easily crafted or purchased to assist in creating accurate and uniform tapers. Check out the table below for some popular tapering jigs that can be used with your table saw:
| Tapering Jig | Features |
|---|---|
| Rockler Taper Jig | Adjustable guide bars for versatility |
| Milescraft 1406 | Built-in scale for precise adjustments |
| Fulton Taper Jig | Durable aluminum construction |
| Kreg KMA2600 | Angle transfer lock for easy setup |
| WoodRiver Taper Jig | Non-slip grip to secure work piece |
Using a tapering jig can not only streamline the tapering process but also enhance the safety of your table saw operations. With the assistance of a tapering jig, you can confidently tackle taper cuts while ensuring accuracy and repeatability. So go ahead, invest in a tapering jig and take your woodworking projects to the next level!
Tapering Jigs and Clamps
When setting up your tapering jig and clamps, ensure that you securely position the jig against the table saw’s rip fence before adjusting it for the desired taper angle. This ensures that your workpiece stays in place and your taper comes out just right.
Here are some practical tips to make the most of your tapering jig and clamps:
- Sturdy Setup: Make sure the tapering jig is firmly secured to the rip fence, and the clamps are holding the workpiece tightly. You don’t want any wobbling or shifting during the cut – that could lead to a wonky taper, and nobody wants that.
- Angle Alignment: Double-check the angle on your tapering jig. A little misalignment can lead to a big difference in the taper. It’s like aiming for a fade haircut and ending up with a buzz cut – not the look you were going for.
- Safety First: Before you start cutting, ensure everything is locked in place. The last thing you need is for the workpiece to come loose mid-cut, causing a potential safety hazard. Plus, you want to keep all your fingers intact – they’re pretty handy to have around.
Tapering Jig Adjustment Steps
To achieve the desired taper angle, adjust the tapering jig using the appropriate screws or knobs, ensuring it’s securely locked in place before making any cuts.
Here are the steps to adjust the tapering jig for your table saw:
- Grab your trusty protractor or angle gauge and set the jig to the exact angle you desire. Precision is key here, unless you’re going for that avant-garde, abstract taper look.
- Once you’ve nailed the perfect angle, tighten those adjustment screws or knobs like you’re sealing a jar of pickles. You want that jig to stay put during the cutting process, not wobble around like a wiggly tooth.
- Double-check everything. We’re talking alignment, settings, and whether you locked the back door. Okay, maybe not the last one, but it’s always good to be thorough. You want to ensure that your taper will be as spot-on as your karaoke performance after a few drinks.
Tapering Jig Safety Tips
Make sure to securely fasten the tapering jig to the rip fence and table saw before beginning any cuts.
Now, let’s talk about some tapering jig safety tips to ensure all your fingers stay intact.
First things first, gear up like you’re about to enter a chainsaw juggling contest. Okay, maybe not that extreme, but at least put on some eye and ear protection. No one wants sawdust in their eyes or that high-pitched whine ringing in their ears.
Next, use push sticks or blocks to guide the wood through the saw. Your fingers will thank you for keeping them at a safe distance from the blade.
Oh, and ditch the loose clothing and jewelry. You’re here to work wood, not accessorize for a fashion show.
Lastly, and this one’s a no-brainer, unplug the table saw when making any adjustments to the tapering jig or switching out the blade. It’s all about staying safe and keeping all your digits intact, right?
Conclusion
Ready to tackle cutting a taper on a table saw like a pro? Follow these simple steps and you’ll be tapering with confidence in no time!
- Measure & Mark: Use a measuring tape and pencil to mark the starting and ending points of the taper on your workpiece.
- Set Up the Saw: Adjust the table saw blade to the desired angle for the taper cut. Double-check the angle to ensure it’s accurate.
- Secure the Workpiece: Use double-sided tape to secure the workpiece and a scrap piece together. This will provide extra stability and prevent any potential kickback.
- Feed Through the Saw: Carefully guide the workpiece and scrap piece through the saw, keeping a steady pace and applying gentle pressure. Make sure to maintain control throughout the cut.
- Test Fit: Once the taper cut is complete, test the fit of the tapered piece to ensure it meets your requirements.
Remember, safety always comes first when using power tools. Use appropriate safety gear, such as goggles and hearing protection, and always follow the manufacturer’s instructions for the table saw.
With these steps, you’re well on your way to mastering the art of cutting tapers on a table saw. Happy building!